Introduction
If you’re looking for a way to give your boat a classic, nautical look, then making an early Admiralty anchor is a great solution. An early Admiralty anchor is a type of anchor that was first used in the 19th century and bears a distinct design compared to more modern anchors. Making an early Admiralty anchor can be time-consuming, but the end result will be worth it. In this blog post, we will explore how to make an early Admiralty anchor and what materials you should have on hand before beginning the project. Read on to learn more!
What You Will Need early admiralty anchor
Assuming you would like a list of materials needed to make an early admiralty anchor:
-1 piece of 3/8″ mild steel plate, at least 18″ x 24″
-1 piece of 3/4″ pipe, at least 18″ long
-1 piece of 1/2″ pipe, at least 6″ long
-1 welding rod (optional)
-A welder and associated safety gear
-Angle grinder with cutting and grinding discs
-Drill with various bits, including a large hole saw or step drill bit
-Bench vise
-Handheld sledgehammer or power hammer
-Anvil (or heavy-duty workbench)
-Bandsaw or jigsaw (or have the steel plate cut to size at the hardware store)
The Process of early admiralty anchor
If you are looking to make an early admiralty anchor for your boat, there are a few things you need to know. First, you need to have a solid understanding of the process. Second, you need to have the right materials. Lastly, you need to have patience and a steady hand.
The process of making an early admiralty anchor is actually quite simple. You start by measuring out the length and width of the anchor that you want to make. Once you have those measurements, you cut the metal to size. Next, you take the metal and bend it into shape. Finally, you weld the pieces together, and voila! You have yourself an early admiralty anchor.
Now, as far as materials go, you will need some iron or steel. The thickness of the metal will depend on how big of an anchor you want to make. For example, if you want a small anchor for a rowboat, then you won’t need much metal. However, if you want a large anchor for a yacht, then you will need quite a bit of metal.
As far as tools go, all you really need is a welder and some basic welding supplies. If you don’t have access to a welder, there are plenty of tutorials online that can show you how to weld without one. Just be sure that whatever method you use is safe and won’t damage the metal.
And lastly, as far as patience and a steady hand go, this is something that you will need to develop over time. There’s no easy way to become a master weldor overnight. Just remember to take your time, be careful, and practice as much as you can. With enough practice, you’ll be able to make an early admiralty anchor in no time!
Finishing Up early admiralty anchor
If you’re like most boaters, you probably don’t give much thought to your anchors until you need them. That’s when it’s good to have a reliable early admiralty anchor on board. These anchors are designed for use in both sandy and rocky bottoms, and they’re easy to make yourself with a few simple tools.
Start by cutting a length of 3/8″ diameter rope that’s about twice the length of your boat. Then, tie a loop in one end of the rope and thread the other end through the loop to form a slipknot. Next, take a 5/8″ diameter dowel rod and cut it into two pieces, each about 1 1/2 feet long.
Now it’s time to start assembling your anchor. Take one piece of the dowel rod and tie it securely to the center of the rope loop. Then, take the other piece of the dowel rod and thread it through the first piece, forming a cross shape. Finally, tie the two pieces of dowel together at the center point.
Your anchor is now complete! To use it, simply drop it overboard and let out enough rope so that it reaches the bottom. The weight of the anchor will keep it in place, and the cross shape will help it dig into the bottom and hold fast.
Enjoy Your New Anchor!
After all your hard work, it’s time to enjoy your new anchor! Here are a few tips to get the most out of your new anchor:
- Make sure you have the right-sized anchor for your boat. An anchor that is too small will not provide enough holding power, and an anchor that is too large can be difficult to handle.
- Check the manufacturer’s instructions for proper installation and use.
- Be sure to test your new anchor before using it in open water. Drop it in a safe area and see how well it holds.
- Always keep an eye on your anchor line when using your anchor in open water. Heavy winds can cause the line to break or snap, so be prepared to retrieve your anchor if necessary.
- When storing your anchor, be sure to clean it and dry it off completely to prevent rust and corrosion.
Tips and Tricks
If you’re looking to add an early Admiralty anchor to your boat, there are a few things you’ll need to do. First, find an old Admiralty pattern anchor. These can be found at most marine salvage yards or online. Once you have your anchor, you’ll need to clean it up and prepare it for installation. Here are a few tips and tricks to help you get the job done:
- Start by cleaning the anchor with a wire brush. This will remove any rust or debris that may be clinging to the surface.
- Once the anchor is clean, apply a coat of primer. This will help protect the metal from corrosion.
- Use Marine Grade adhesive to attach the anchor to your boat. This will ensure a strong bond that will withstand the elements.
- Finally, apply a coat of paint to the anchor. This will give it a nice finish and help it blend in with your boat’s existing color scheme.
Finishing Up
Assuming you have all the materials and tools required, finishing up an early admiralty anchor for your boat is a relatively straightforward process. First, start by welding the two center plates together. Next, weld on the shackle eyes, being sure to leave adequate space between them for the chain. Finally, weld on the flukes, making sure that they are symmetrical and of equal size.
With the welding complete, it’s time to add the finishing touches. First, give the entire anchor a good sanding to remove any rough edges or sharp points. Next, prime and paint the anchor as desired. Once dry, it’s ready to be installed on your boat.
Maintenance
When it comes to anchors, there are three main types: early admiralty, modern admiralty, and CQR. Early admiralty anchors are the oldest type of anchor, and they’re also the heaviest and most difficult to retrieve. However, they’re very good at holding a boat in place in strong winds and currents. If you have a boat that’s frequently exposed to bad weather conditions, an early admiralty anchor is a good choice.
To make an early admiralty anchor, you’ll need:
-A length of chain
-A length of rope
-An old tire
-A piece of metal pipe
-A welding torch
First, weld the piece of metal pipe to the center of the tire. Then, attach the length of the chain to the pipe. Next, tie the length of the rope to one end of the chain. Finally, bury the tire in the sand or mud near your boat so that only the top of the pipe is exposed. When you need to use your anchor, simply pull on the rope until the tire is buried deep enough that it won’t budge in strong winds or currents.
FAQ’s
- What is an early admiralty anchor?
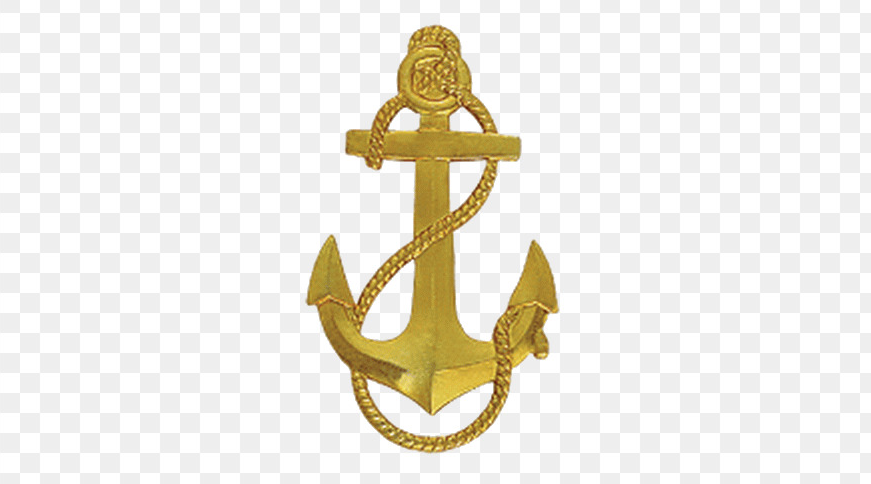
An early admiralty anchor is a type of anchor that was used by the British Royal Navy during the 18th and 19th centuries. The anchor consists of a wooden stock with two flukes, or arms, that are attached to the stock with iron bolts. The flukes are pointy and are designed to dig into the bottom of the sea bed, providing a firm hold for the ship.
- How do I make an early admiralty anchor for my boat?
There are a few different ways that you can go about making an early admiralty anchor for your boat. One way is to purchase a kit that contains all of the necessary parts and instructions. Another way is to find a blacksmith who can forge the iron bolts and flukes for you. Or, if you’re feeling particularly ambitious, you can try your hand at making everything from scratch! Whichever route you decide to take, be sure to do some research beforehand so that you have a clear understanding of what you’re doing.
- Why would I want to make an early admiralty anchor for my boat?
There are a few reasons why someone might want to make an early admiralty anchor for their boat. Perhaps you’re a history buff and you want your boat to be outfitted with authentic gear. Or maybe you just think they look really cool! Whatever your reasoning, making your own early admiralty anchor is a great way to add a unique touch to your boat.
Conclusion
We hope this tutorial has helped you learn how to make an early Admiralty anchor for your boat. Making a DIY anchor can be a fun and rewarding experience, and the results will undoubtedly last you many years of sailing adventure. Now that you know the basics, gather up your supplies, take accurate measurements, mark out the pieces, and get cutting! With patience and care, soon enough you’ll have a sturdy admiralty anchor ready to attach to your vessel!